Mapping the Flow Before Any Pour Begins
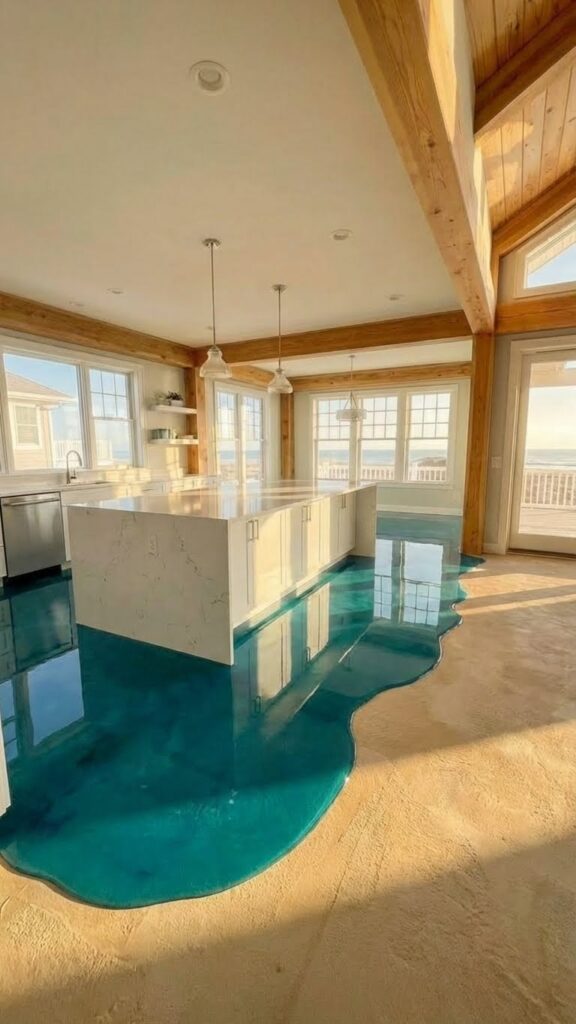
Before any material touches the floor, the crew starts by mapping the waterline directly onto the slab. Using tape and chalk, they sketch out the shoreline curves that will eventually wrap around the kitchen island and extend toward the windows. This step matters because it controls how the finished floor feels once furniture and cabinetry are in place.
Instead of forcing symmetry, the lines follow natural movement. As a result, the “shore” widens near open walkways and tightens where cabinetry anchors the room.

Preparing the Base for a Seamless Finish
Next, the crew fully prepares the concrete slab. They clean the surface, lightly grind it, and vacuum it to remove dust and oils. Afterward, they apply a bonding primer so the resin adheres evenly across the floor.
Meanwhile, the team installs temporary barriers around cabinetry, doorways, and structural posts. These barriers guide the resin’s flow while stopping it precisely where the design calls for a clean edge.
Placing the Shoreline Materials
With the base ready, the crew moved into the sand phase. Workers poured fine sand tones across the taped shoreline areas, spreading and shaping them manually. They didn’t aim for uniform color. Instead, they varied depth and tone to mimic natural beach movement.
Because this sand layer would sit beneath clear resin, every contour had to be final. At this point, adjustments still happened quickly — once resin poured, there would be no second chances.


Pouring the Water in Controlled Stages
With the shoreline locked in, the water layer comes next. Rather than pouring everything at once, the crew works in stages. First, they pour a translucent blue base, letting it flow outward from the island. Then, deeper tones get added selectively to create depth and movement.
As the resin spreads, installers guide it using rollers and squeegees. This keeps the color balanced and prevents pooling near cabinet bases. Meanwhile, heat guns release air bubbles and soften transitions between colors.
Creating Movement While the Resin Is Still Live
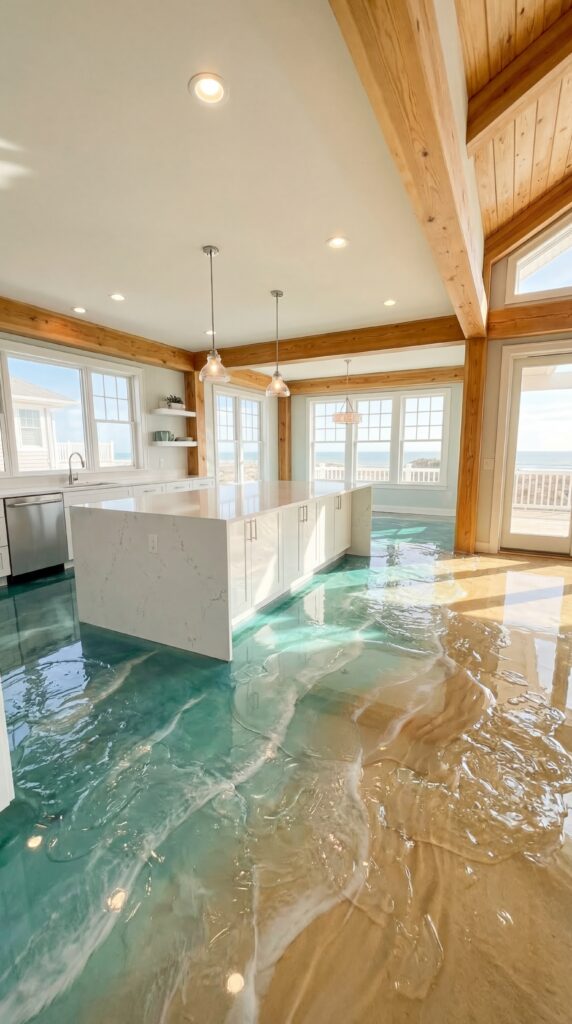
While the resin remains workable, the team adds white accents to simulate foam and soft wave breaks. These highlights are feathered by hand, following the direction of the original taped lines.
Because timing matters, this step happens quickly. Once the resin begins to set, the motion locks in permanently. That’s what gives the finished floor its natural flow instead of a painted look.
Sealing Everything Under a Glass-Smooth Finish
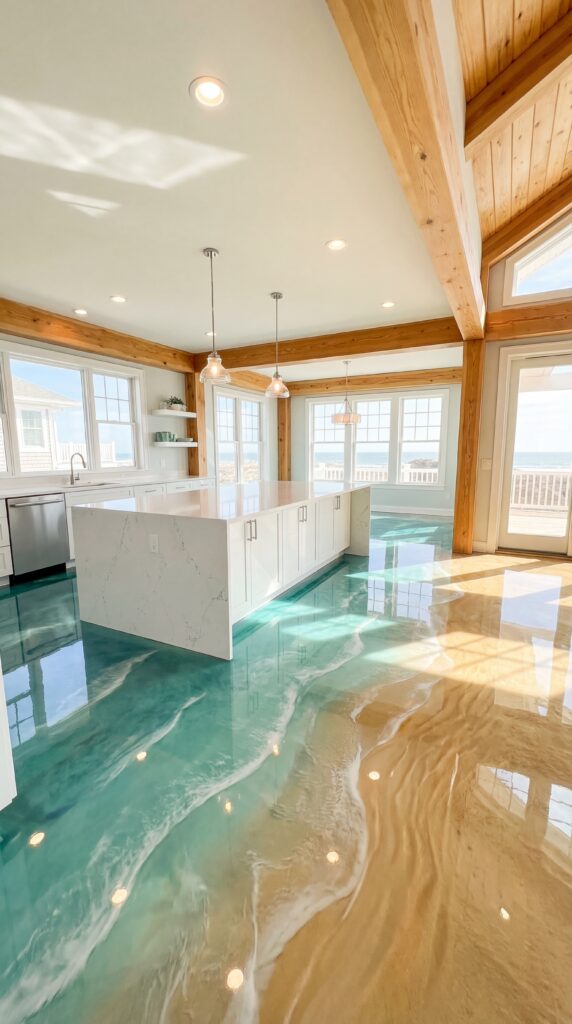
After the water layer cures, a final clear coat goes down across the entire surface. This coat levels the floor and creates a glass-like finish that reflects light from the windows.
At the same time, it seals the sand, color, and movement beneath a durable surface designed for daily use. Once cured, the floor handles foot traffic, furniture, and cleaning just like a standard finished surface.
The Finished Space
In the end, the floor feels integrated rather than decorative. The ocean tones pull natural light deeper into the kitchen, while the shoreline curves guide movement through the space. Instead of competing with the architecture, the floor works with it — anchoring the island and opening the room toward the view outside.